V2Ray on Dark Tunnel

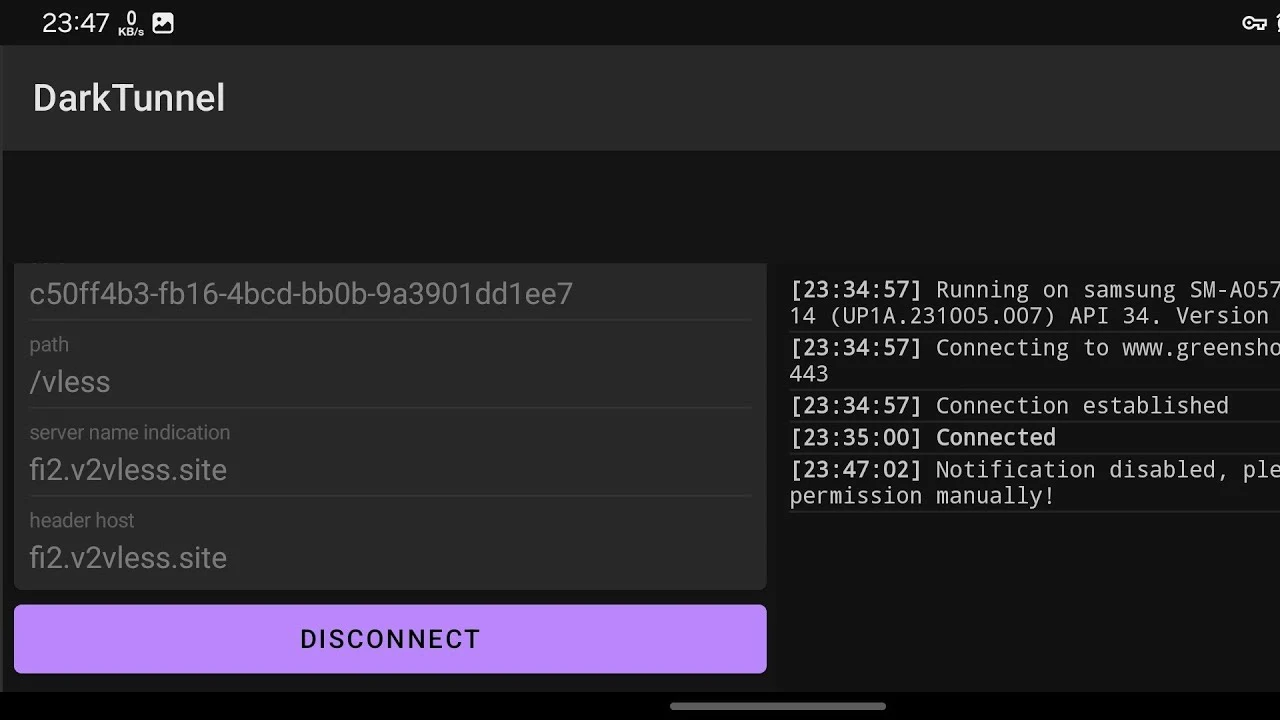
How to Configure V2Ray on Dark Tunnel VPN for Free Internet

In this guide, I will show you how to set up V2Ray on Dark Tunnel VPN. By the end, you’ll have a reliable, private, and high-speed internet connection that you can trust no matter where you are in the world.

In today’s world, privacy is essential when accessing the internet. Many people face challenges like slow connection speeds, limited data privacy, and vulnerability to hackers. If you’re tired of unsecured internet access and want a way to surf the web faster while keeping your data safe, you’re in the right place.

These tools will ensure that you get the most out of your V2Ray and VPN combination, providing you with an ultra-secure fast and free connection.

Configure V2Ray on Dark Tunnel VPN for Free Internet

Creating a V2ray server

The first step to configuring V2Ray is setting up the server

  1. Access SSH Ocean Website
    Open your browser and search for SSHOcean
  2. Click on services  Once on the website, navigate to the services section
  3. Selecting the Right V2Ray Server
    Depending on your needs, you can choose from V2Ray, Vmess, or VLESS. In this guide, we’ll use V2Ray.

V2Ray on Dark Tunnel
  1. Country Selection Tips
    Scroll through the list and pick the country where you’d like your server to be located. This step is important, as selecting a closer server will often result in a faster connection.
  2. Create a Server
    After selecting a country, click on “Create” next to the server. It’s vital to check that the server is online and has available accounts before proceeding.

Generating SNI Host

SNI hosts play a key role in making your internet connection free. here’s how you can get one for free

  • Using kofnet to Generate SNI
    To generate an SNI host, open a new tab and search for “kofnet.co.za”. Navigate to the site, and use the search tool to find the SNI Host Generator.

  • Copying and Applying SNI
    Once you’ve selected your country, click “Generate”, copy the provided SNI, and return to the SSH Ocean website. Paste the generated SNI into the sniper host field. If the default doesn’t work for your country, leave it blank and proceed.

Completing Server Configuration

Now that you have your SNI host:

  1. Inputting Username and Other Details
    Fill in your desired username. 
  2. Inputting the SNI Host in SSH Ocean
    Paste the SNI you copied into the appropriate field on the SSH Ocean page.

  3. Finalizing Server Settings
    Make sure to select Reverse SNI as Address before proceeding. If this option isn’t working for your country, you can try leaving it as default.

V2Ray on Dark Tunnel

After completing these steps, click “Create Server”. Once created, your new V2Ray server is ready for use.

  • click on Copy Config WS

Installing Dark Tunnel VPN

Now that you have a server, the next step is to install the Dark Tunnel VPN.

  1. Downloading Dark Tunnel VPN from Play Store
    Open your Play Store app and search for Dark Tunnel VPN. Click “Install” and wait for it to finish downloading.

  2. Initial Setup of the VPN
    After installation, open the app. You may choose to disable notifications if you prefer a more minimal setup.

Configuring V2Ray on Dark Tunnel

The most important step is importing your V2Ray settings into the VPN app.

  1. Accessing VPN Configuration Settings
    In the Dark Tunnel VPN, tap Config, then choose Import.

  2. Importing V2Ray Settings
    Select the configuration file you saved earlier, then click “OK” to confirm. The app will automatically import and configure the V2Ray settings.

  3. Verifying Connection
    You don’t need to tweak anything. Simply scroll down, click OK, and you’ll be connected to the VPN.

V2Ray on Dark Tunnel

Video Tutorial