In today’s tutorial, we will guide you through the process of creating your very own Ubuntu VPS (Virtual Private Server) on the AWS Free Tier platform in 2023. This step-by-step guide is designed to help you set up an Ubuntu VPS on AWS, Let’s get started!
Before we dive into creating the Ubuntu VPS on AWS, you must have an Amazon AWS account. If you don’t have one, watch this video on creating an Amazon AWS Free Tier account.
Step 2: creating an Ubuntu VPS on AWS Free Tier
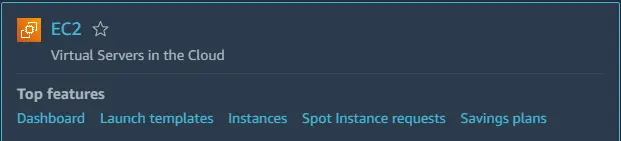
Once you’ve logged into your AWS account, follow these steps:
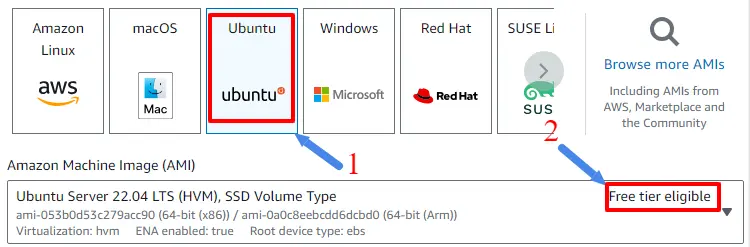
Scroll down to the “Application and OS Images” section and select “Ubuntu” under “Amazon Machine Image.” Ensure that the selected OS is “Free Tier Eligible.”
Continue scrolling and choose your preferred OS version (e.g., “Ubuntu Server 22.04“).
Under “Instance Type,” make sure to select an instance type that is “Free Tier Eligible.”
Next, create a new key pair for SSH access. Select “Create a new key pair” and choose “ppk” format if you plan to use PuTTY or “pem” if you are using other applications. Give your key pair a name and click “Create key pair.” Make sure to keep this key pair safe, as you’ll need it to access your VPS in the future.
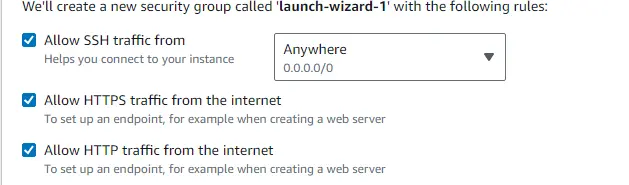
Under “Security Settings,” click on “Allow HTTP and HTTPS.”
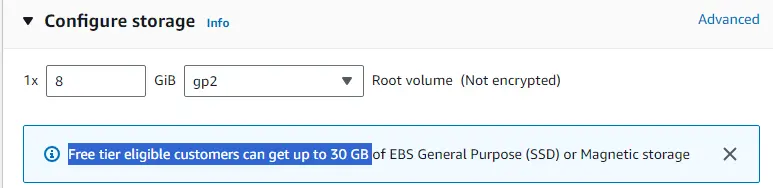
In the “Storage” section, you can increase your storage up to 30GB, but for most tasks, 8GB is sufficient. Adjust this setting according to your needs.
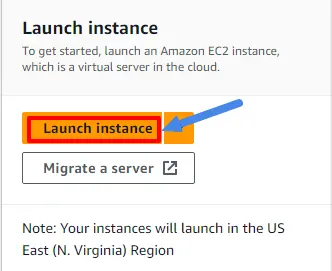
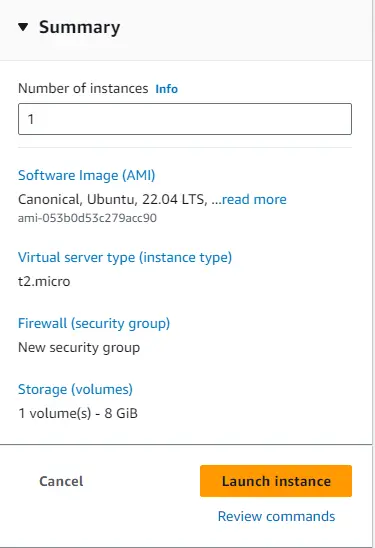
Once you’ve configured all the settings, click on “Launch Instance.”
Now, select your instance to proceed.
Step 3: Assigning an Elastic IP to Your VPS
To ensure consistent access to your VPS, you need to assign an Elastic IP, as the default IP provided by AWS changes on each reboot. Follow these steps to allocate and associate an Elastic IP:
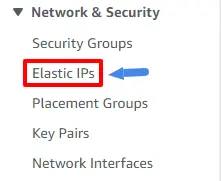
In the AWS console, under “Network and Security,” select “Elastic IP.”
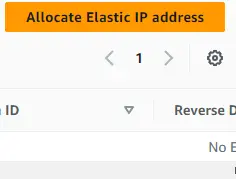
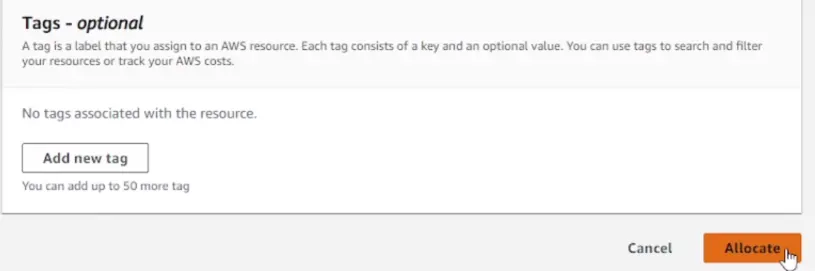
Click on “Allocate Elastic IP Address.”
Scroll down and click “Allocate.”
After your Elastic IP is allocated, click on “Actions” and then select “Associate Elastic IP Address.”
Choose your recently created instance from the list and click “Associate.”
Return to your instance, and you’ll notice that your IP address has now been changed to the assigned Elastic IP address.
Step 4: Logging In to Your VPS Using PuTTY
To log in to your VPS, you’ll need an application called PuTTY. If you’re using a mobile device, a similar app like Juice SSH can be used. Here’s how to log in using PuTTY:
Search for PuTTY in your browser and select the official website.
Download the PuTTY application, choosing the appropriate version (e.g., 64-bit for a 64-bit PC).
Install PuTTY on your computer.
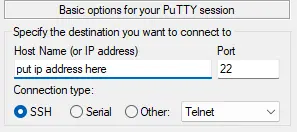
After installation, open PuTTY, and in the “Host Name” field, paste your VPS’s IP address.
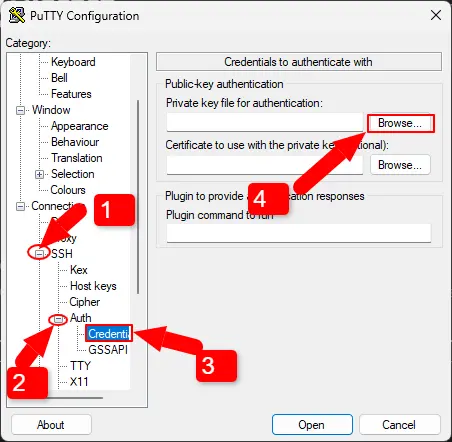
In the left-hand menu, expand “SSH” and click “Auth.”
Under “Auth,” click “Browse” and select the private key file that was downloaded when you created your instance.
Save these settings by clicking “Session” on the left, giving your session a name, and clicking “Save.“
Click “Open” to initiate the SSH connection.
When prompted for the username, type “ubuntu.”
You are now connected to your Ubuntu VPS, and you can install any desired scripts or software.
conclusion
Congratulations! You’ve successfully created an Ubuntu VPS on AWS Free Tier in 2023 and logged in using PuTTY. If you found this tutorial helpful, please give it a thumbs up and consider subscribing to our channel for more educational content. If you encounter any issues or have questions, feel free to leave a comment, and we’ll be happy to assist you. Peace!


